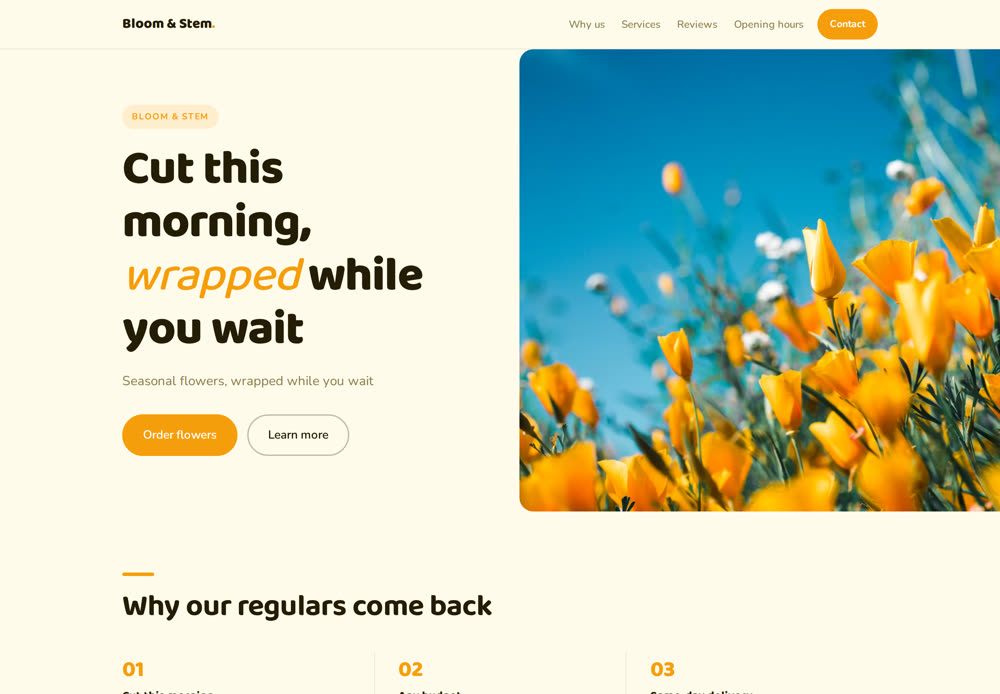

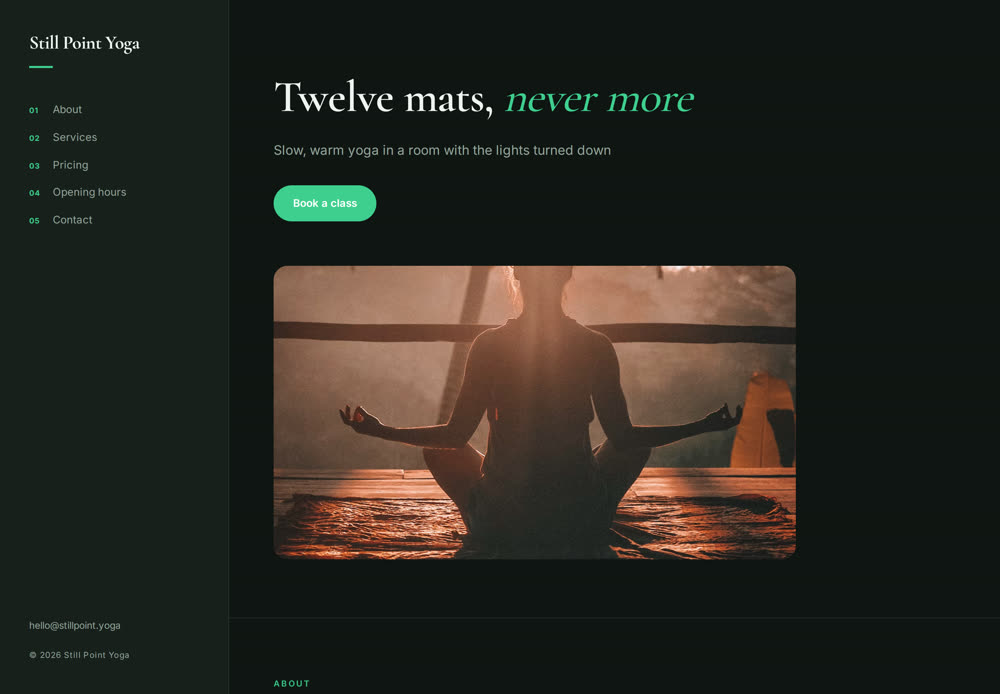
Build it myself
For a hands-on start.
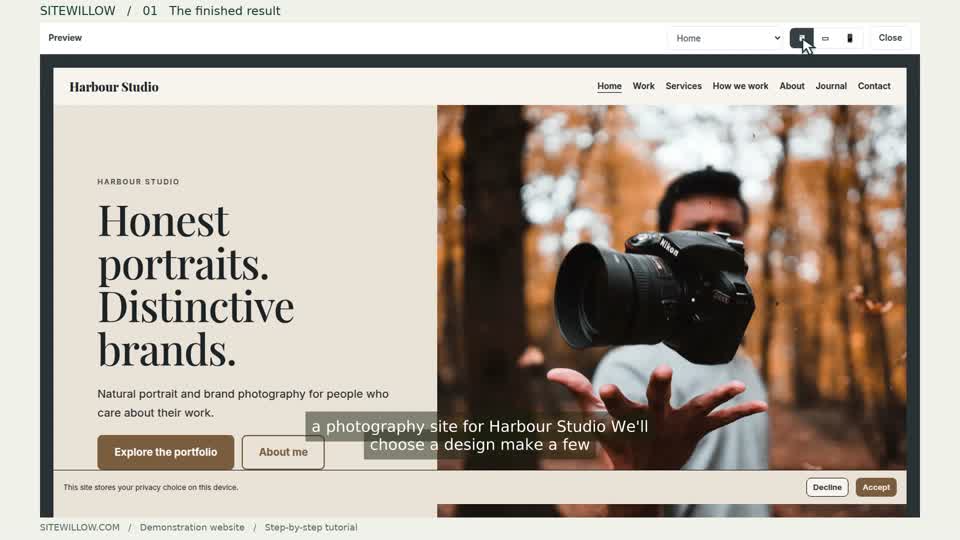 Watch the video · 3:42Build it myself
- Describe your business or project in setup.
- Choose “Build it myself” as your starting point.
- Open your design and replace the sample content.
Watch a short walkthrough, follow the steps or find a quick answer — from your first idea to your own web address.
Search the videos and written answers below.
Popular: Add a page Publish Transfer code Two-step verification Upload a photo
Try a shorter phrase such as “pages”, “photos” or “domain”, or contact support.
7 videos · about 19 minutes · English audio with on-screen captions. No login needed.
Choose a base for your goal, then shape the website yourself. See how the setup leads into the builder.
Open video in a new tabChoose the route that suits you. These are three alternative starting points, not three steps you need to complete.
For a hands-on start.
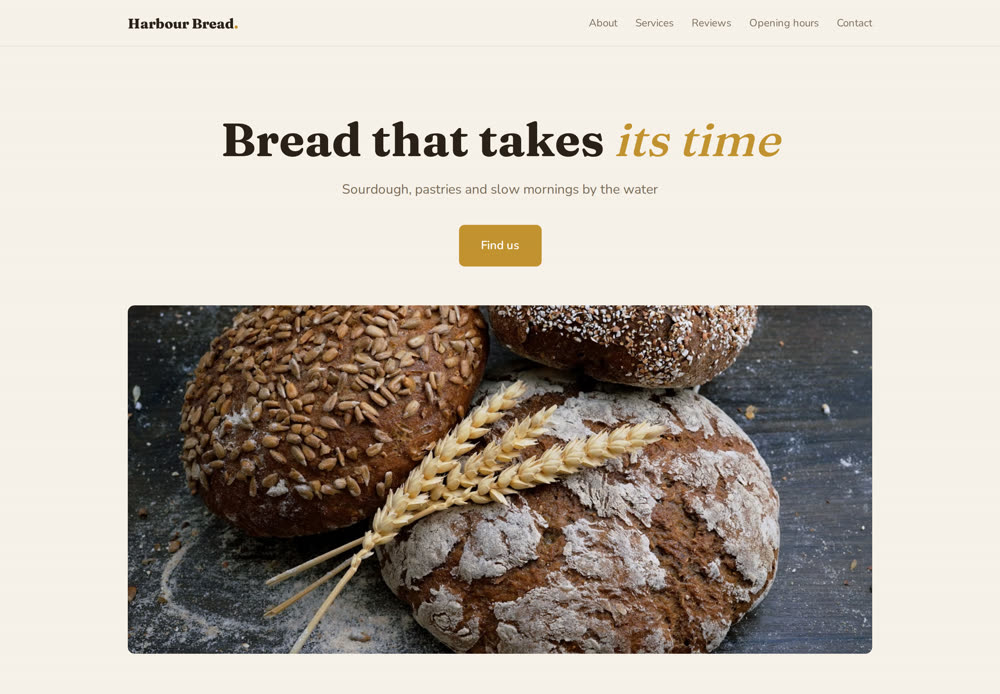
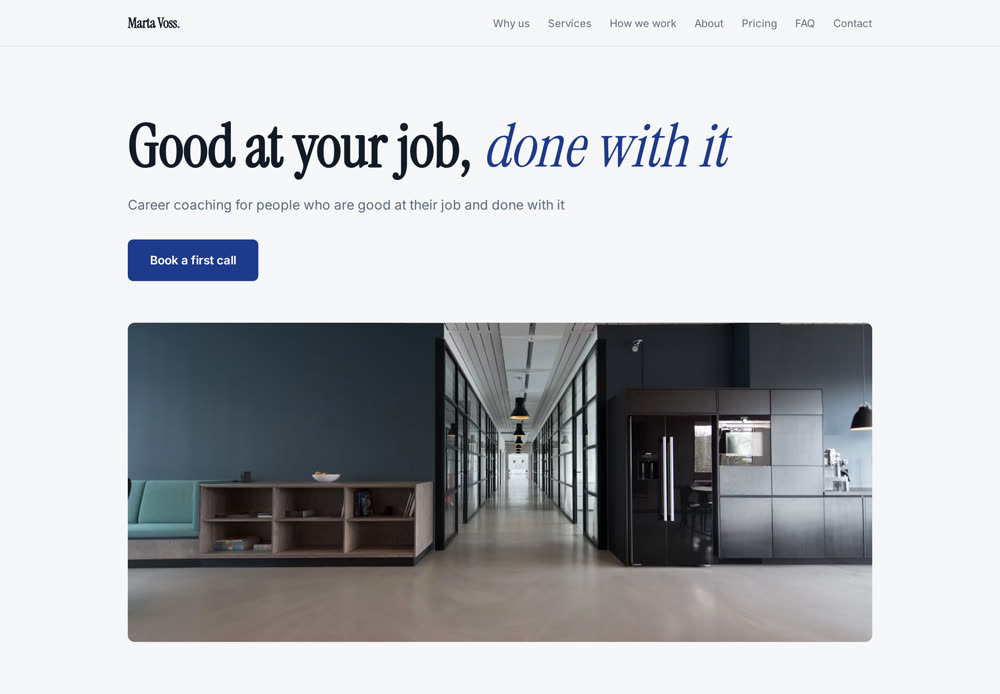
Watch the video · 3:42Build it myselfFor a design you can make your own.
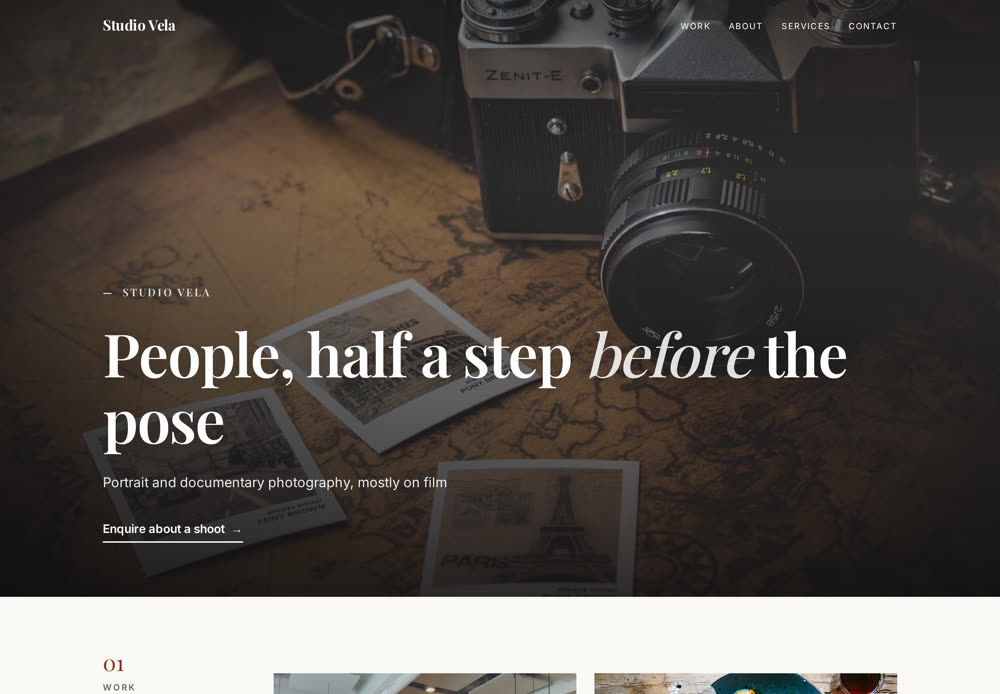
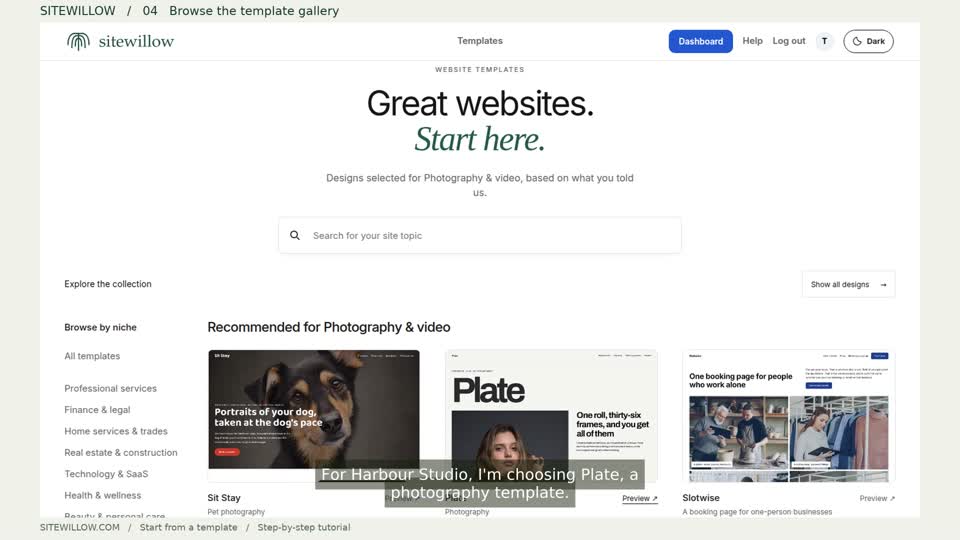 Watch the video · 3:24Start from a template
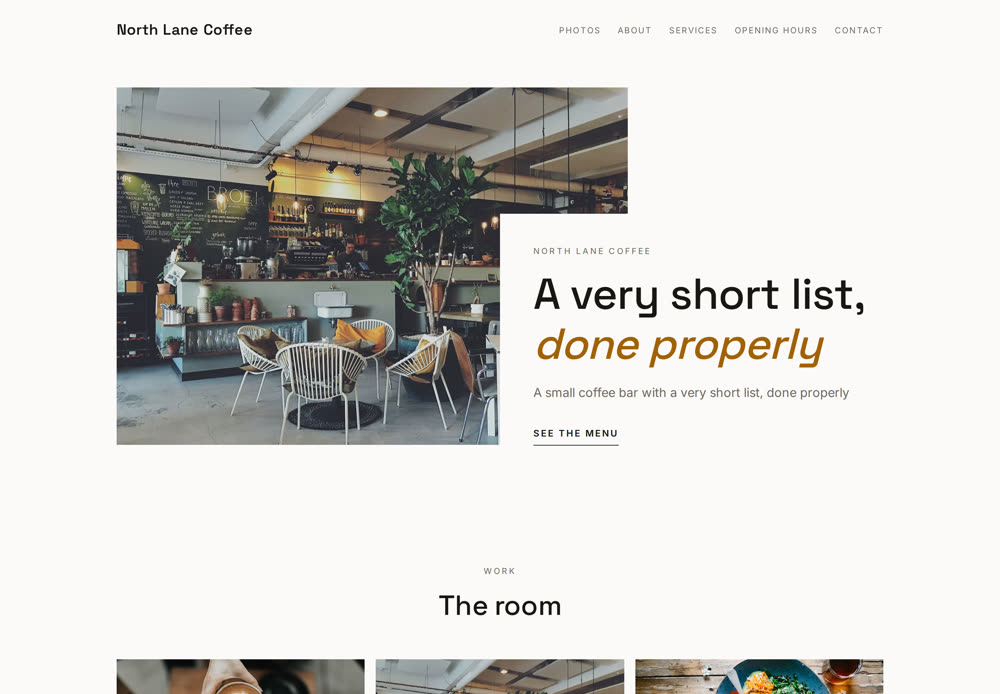
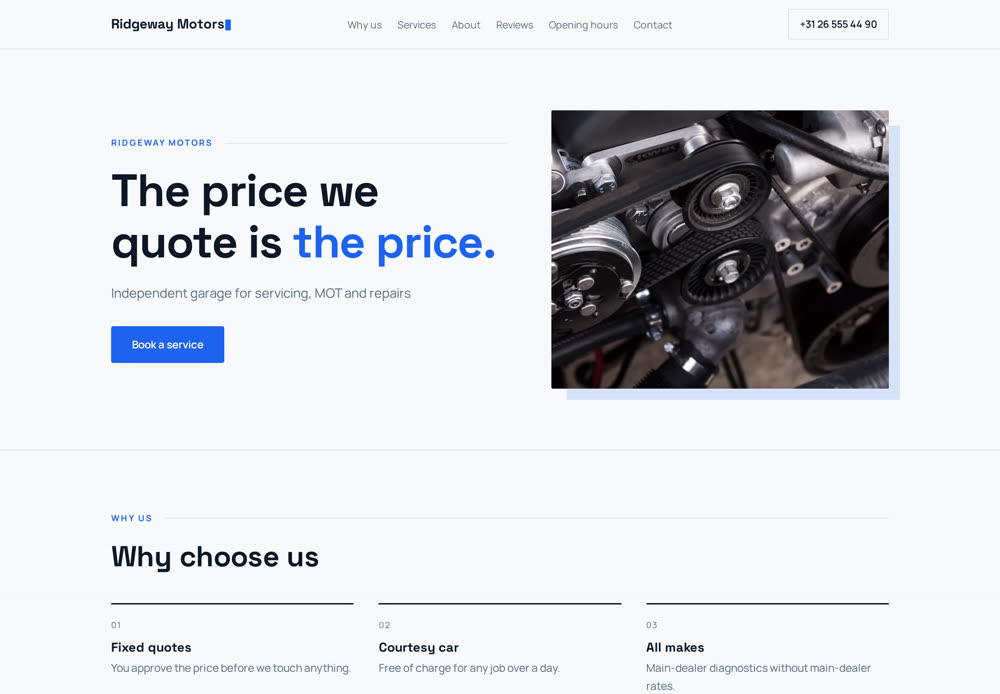
Try a direction with “Surprise me”.
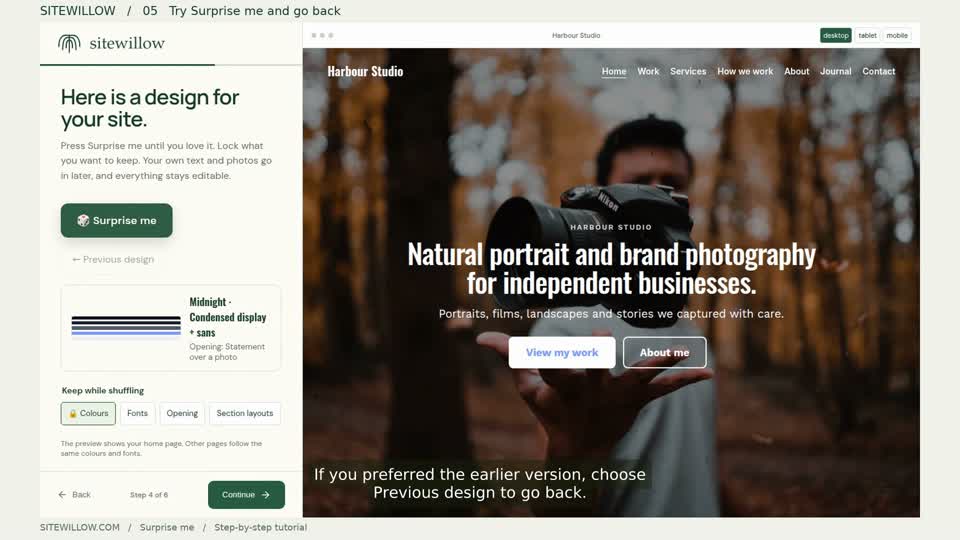 Watch the video · 3:27Design it for me
Already have a website? Jump straight to the builder guides below.
Start your website →Change the words, swap a photograph and add the sections your visitors need. The walkthrough shows the actual editing controls, including how to remove an element and undo it.
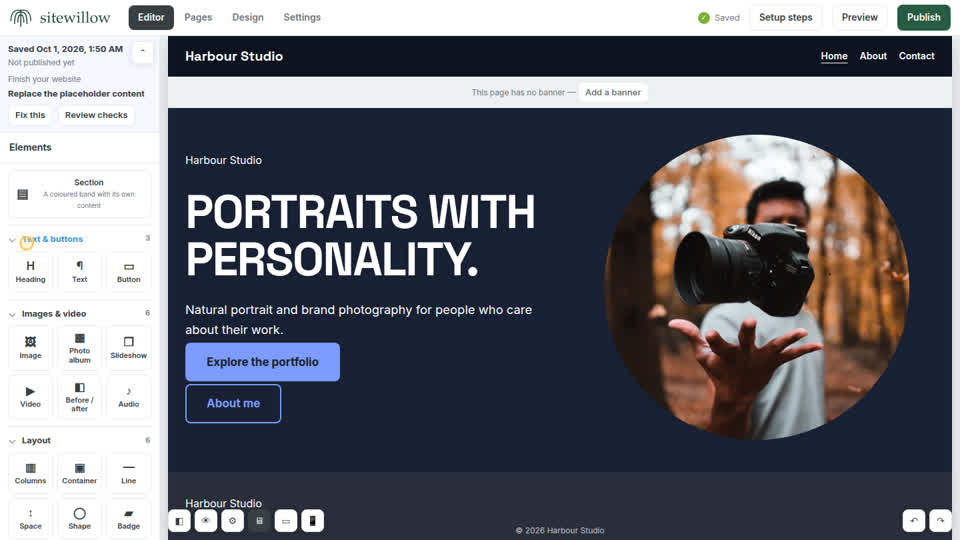 Watch the video · 2:28Make every detail your own
Click a heading to select it, then click again to edit. Double-click an image to upload a photo, reuse an earlier upload or choose a stock photo.
Use the Elements panel on the left. Change the new content, then give your button a useful label and a destination using its link control.
Select an element and use its trash icon. The undo arrow at the bottom restores the last change. Open Design for colours and fonts; look for “Saved” before moving on.
Build a clear path through your website. Create a page, organise the menu, duplicate a useful layout and remove pages you no longer need.
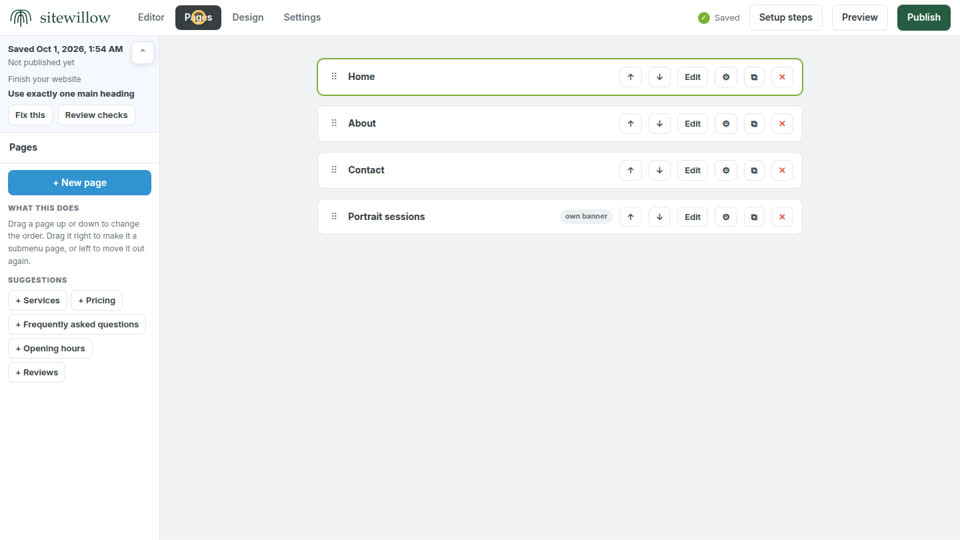 Watch the video · 2:29Give every page a place
Open Pages → New page. Give it a clear name and address, choose a starting layout, and add a search title and description.
Use “Visible in the menu” and “Part of a submenu” to choose where a page appears. Reorder pages with the arrows or drag handle. Hiding a menu item does not make its page private.
Use the copy icon to reuse a layout. Give the copy its own name and address. The cross deletes a page and its content after confirmation; update any links pointing to it.
Check your website, publish your work and bring your own domain. Follow either walkthrough when you reach that step.
See the checks before launch and learn what changes when you publish.
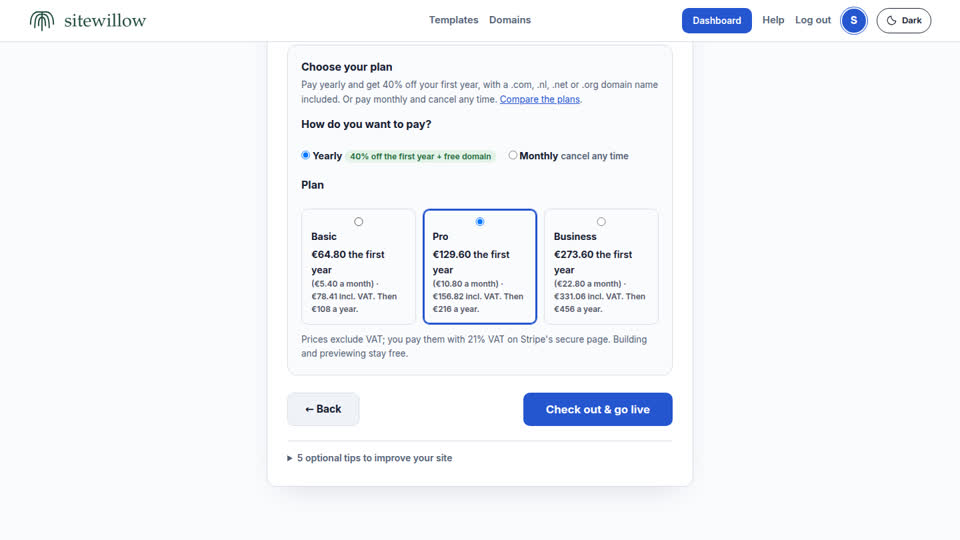 Watch the video · 1:59Preview & publish
The recording stops before payment. Saving your draft does not publish it.
Find your transfer code and see where to enter it in Sitewillow, with a visual TransIP example.
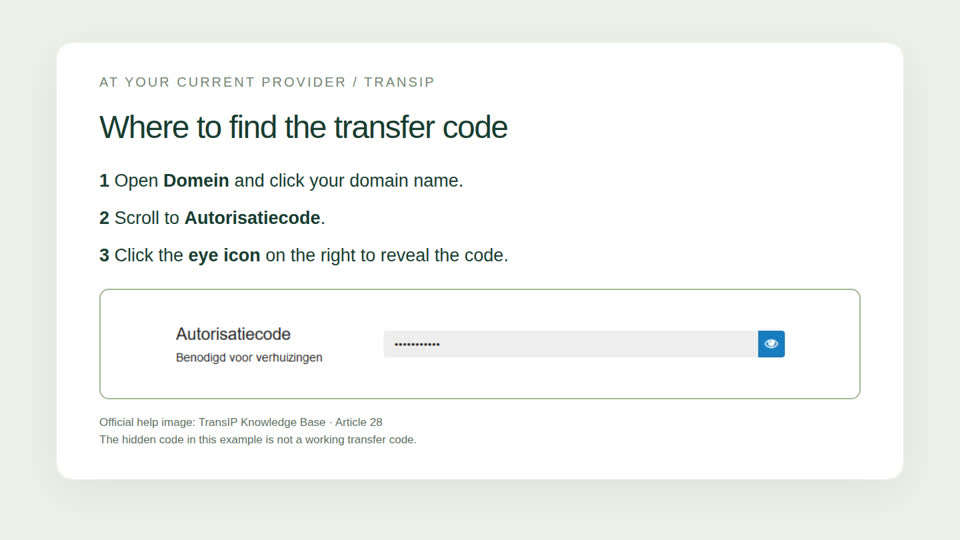 Watch the video · 2:07Transfer your domain
A transfer moves the domain registration. It does not copy your old website or mailboxes. Check your DNS, website and email arrangements before moving.
Sitewillow helps you create and publish a website for your business or project, without writing code. Make a starting design your own with text, photos, colours and pages. Your dashboard brings your websites, visitor statistics and contact-form messages together.
Website basics, account safety and practical fixes.
No. The setup and visual editor guide you through your website. Start with the content you need and refine the design as you go.
You can build for free. A paid plan is needed to keep a website live. See the current plans.
Saving keeps your work in the editor. Publishing makes a version available to visitors. After editing a live website, publish again when you are ready for visitors to see the changes.
Yes. Your dashboard lists your websites so you can open and manage each one separately. Account security protects your whole account.
Open your website and look under “Domain” in the menu: buy a new domain there, or connect one you already have. A preferred domain selected during setup is not automatically purchased or registered.
Open “Messages” in your website management menu. Check that your contact details and notification settings are correct, then send a test message from the published website.
Add a clear page title and description in “Pages & Google”, write useful content and publish your website. Appearing in search results takes time; publishing does not guarantee a position in Google.
You can link to an external booking or checkout page. Check that the link opens the correct service and that your provider is set up to accept bookings or payments.
It goes offline and moves out of your main website list. Open Trash in the dashboard to restore it as a draft. Permanent deletion is a separate action: check carefully before confirming it.
Open your account using the profile circle in the top bar. Choose “Send verification email”, open the email and confirm your address. The link works once and expires after 24 hours. Requesting a new email replaces the previous link.
Go to “Your account” → “Turn it on”. Open your authenticator app, add a time-based account using the setup key, then enter your current password and the six-digit code. Save the eight recovery codes somewhere safe. Setup expires after ten minutes; if needed, start again.
Use one of your saved recovery codes instead of the authenticator code when logging in. Each recovery code works once. To set up a replacement authenticator, sign in, open account security, turn off 2FA with your password and an unused recovery code, then set it up again. If you have neither, contact support. Never send your password or recovery codes.
Open “Your account” → “change it”, or open account security. Changing your password requires the current password and, when enabled, a 2FA or recovery code. Other devices are signed out after the change. You can also sign out individual devices in the device list.
Sign it out in account security, change your password and enable 2FA. Browser and device labels are approximate, so check the last-active time too.
Check your spam folder and the address shown in your account. Wait at least a minute before requesting another email, then use the newest link. If Sitewillow reports a sending problem, try later or contact support.
Check that you selected Sitewillow in your app and that your phone uses automatic date and time. Each code can only be accepted once, including the code used during setup. Wait for a new code, or use an unused recovery code. After too many attempts, wait ten minutes.
Check that you edited the right website, save your changes and publish again. Open its public link and refresh the page. The editor preview and the published website can show different versions until you publish.
Use a JPG, PNG or WebP image smaller than 8 MB. Try reducing a large photo's dimensions and uploading it again. Keep a copy of the original.
Check that you are signed in with the email address you used to create it. Clear any dashboard search or status filter, and check Trash.
Ask for help finishing your pages or keeping your text, photos and opening hours up to date. Open your website from the dashboard and choose Website help to send a request and follow its status.
The request is free. Personal website work is quoted separately from your website plan. We agree the work, price and timing before starting; requesting a quote does not start a subscription.
Open your websitesInclude the email address on your account, the name or public link of your website, what you were trying to do and any error message. A screenshot can help; hide private information first. Never share passwords, setup keys or recovery codes.